
As I said in my previous article, I was without my A4000 mobo for about 2 weeks due to sending it to Cosmos for general repairs.
The mobo was operating just fine as you can tell from the previous Blog articles, although it required at a point a professional service for some stuff like:
First of all and after removing the SIMM sockets, he realized there were 2 cut tracks underneath, so after clearing them a bit, he bridged them :)


Now the sockets could be replaced... so this is how it was before

...and after the replacement

After that, it was time to replace teh caps which is easy stuff for him :)
Motherboard with the former caps was like this...

...and after the replacement like this

Sadly there was one shity one that lost it's pads so they had to be replaced customly.


Perfect job isn't it? :D - Ok lets continue...
RTC circuit after examination had a burned Ricoh so it was replaced with a new one. One diode that was soldered into a Pin of Ricoh was placed under the socket in case of future replacement!

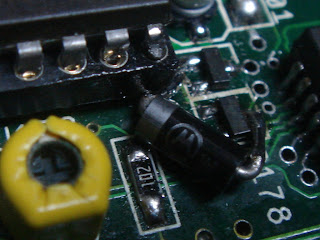
Previous owner (or a previous repair guy) had already putted a coin battery socket with a diode but it was floating in the air not so professionally.
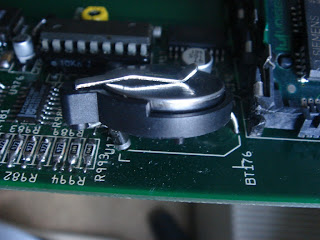

Cosmos decided to mount it better in the mobo so he putted another smaller diode and twisted a bit the coin battery socket in a way so it could fit just fine :)


Socket was indeed kinda bent so after asking me, we decided to remove SuperBuster's socket and solder the SuperBuster 11 directly to the motheboard.


Well... one pad had issues but not something that couldn't be fixed with a wire to the nearby track :)


PIO GALS removed and sockets including the upgraded GALS were put in place.
This was what it was before...

...and this is how it's now with the sockets and the PIO-2 GALS in place.

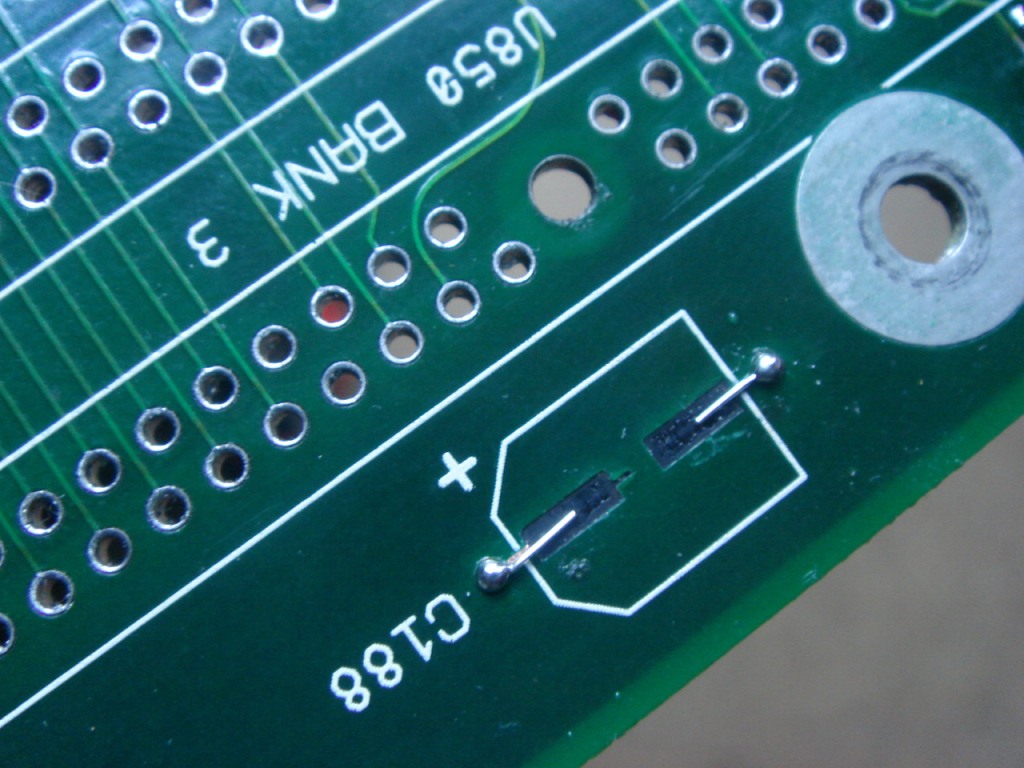
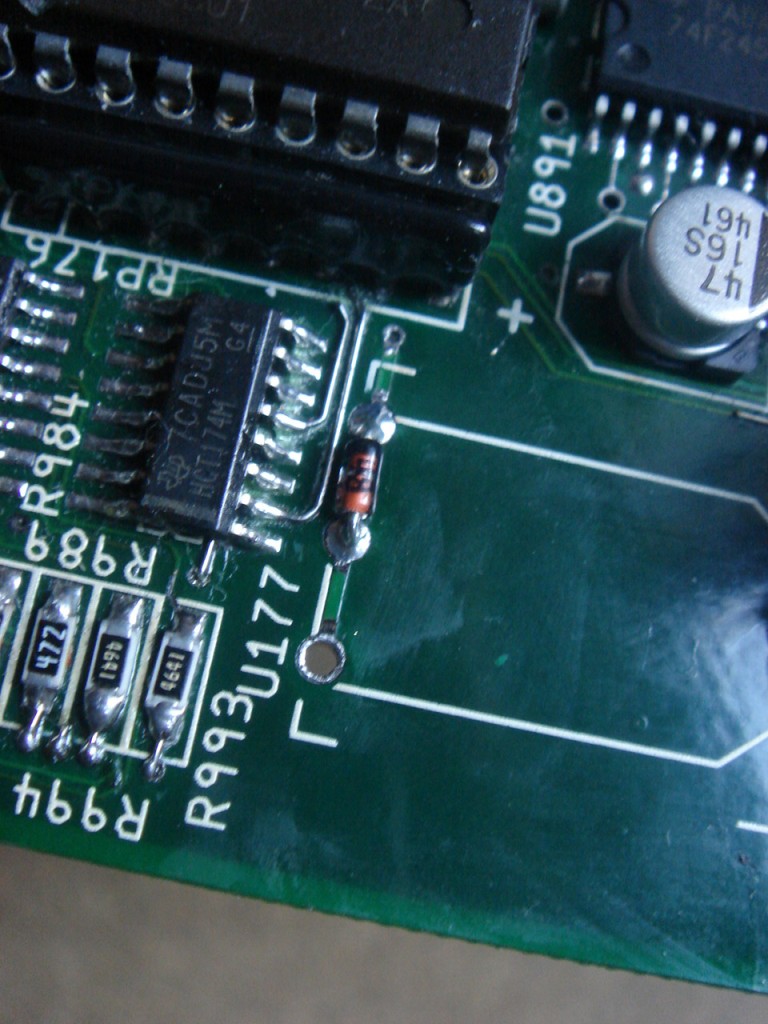
Last but not least, some diodes had a little solder so Cosmos thought of giving a bit of fresh one since he had some issues in the past with those.
This is an example of how it was before...

...and after the refresh...

As always, I'm gonna give a full mobo photograph of before and after the whole service...
BEFORE:

AND AFTER:

Awesome job Cosmos mate! Thanks again and I can't wait to assemble everything from scratch to check it out \o/
Stay tuned
The mobo was operating just fine as you can tell from the previous Blog articles, although it required at a point a professional service for some stuff like:
- Repairing the RTC circuit (it didn't work)
- Replacing all the SIMM sockets with new ones having metal brackets
- Replacing all caps (they were just fine but a refresh is always nice to have)
- Checking SuperBuster's socket (it was kinda bent)
- Putting sockets in PIO GALS in order to put the updated PIO-2 GALS.
- ... and finally a general lookout.
First of all and after removing the SIMM sockets, he realized there were 2 cut tracks underneath, so after clearing them a bit, he bridged them :)


Now the sockets could be replaced... so this is how it was before

...and after the replacement

After that, it was time to replace teh caps which is easy stuff for him :)
Motherboard with the former caps was like this...

...and after the replacement like this

Sadly there was one shity one that lost it's pads so they had to be replaced customly.


Perfect job isn't it? :D - Ok lets continue...
RTC circuit after examination had a burned Ricoh so it was replaced with a new one. One diode that was soldered into a Pin of Ricoh was placed under the socket in case of future replacement!


Previous owner (or a previous repair guy) had already putted a coin battery socket with a diode but it was floating in the air not so professionally.


Cosmos decided to mount it better in the mobo so he putted another smaller diode and twisted a bit the coin battery socket in a way so it could fit just fine :)


Socket was indeed kinda bent so after asking me, we decided to remove SuperBuster's socket and solder the SuperBuster 11 directly to the motheboard.


Well... one pad had issues but not something that couldn't be fixed with a wire to the nearby track :)


PIO GALS removed and sockets including the upgraded GALS were put in place.
This was what it was before...

...and this is how it's now with the sockets and the PIO-2 GALS in place.

Last but not least, some diodes had a little solder so Cosmos thought of giving a bit of fresh one since he had some issues in the past with those.
This is an example of how it was before...

...and after the refresh...

As always, I'm gonna give a full mobo photograph of before and after the whole service...
BEFORE:

AND AFTER:

Awesome job Cosmos mate! Thanks again and I can't wait to assemble everything from scratch to check it out \o/
Stay tuned
1 comment:
Awesome work by Cosmos, he is da Man!
Post a Comment